sexta-feira, 24 de dezembro de 2010

Feliz Natal // Merry Christmas

Feliz Natal a todos os seguidores e visitantes do Bola de pensamento
Merry Christmas and a Happy New Year to all Thought bubble followers and visitors


terça-feira, 21 de dezembro de 2010

Postais de Natal "facilissíssimos" // "Oh-so-easy" Christmas cards

 Ingredientes // Ingredients :

Rectângulos de cartão (a.k.a caixas de cereais vazias) // Cardboard rectangles (a.k.a empty cereal boxes)
Restos de papel de embrulho ou outro papel bonito // Wrapping paper leftovers or other pretty paper
Papel branco // White Paper
Papel autocolante para plastificar * // Transparent Adhesive Paper

Utensílios // Tools 
Cola // Glue
Tesoura // Scissors


 Desenhar motivos natalícios no papel de embrulho e recortá-los.
Draw Christmas motivs on the wrapping paper and cut them out.

Colá-los desenhos na parte lisa do cartão (a que estava na parte de dentro)
Glue them on the card, on the side that was previously the inside of the box.

Plastificar a parte do cartão que tem o desenho.
Plastify the side that has the drawing glued on.


Recortar um rectângulo de papel branco do mesmo tamanho do cartão e colar na parte de trás (que antigamente era a parte de fora da caixa)
Cut a rectangle from the white paper the same size as the card and glue it on the backside (that previously was the outside of the cereal box)


Escrever uma bonita mensagem de Natal e enviar!
Write a nice Christmas message and send it!

terça-feira, 14 de dezembro de 2010

Natal chez Sabi // Christmas chez Sabi


Estou muito orgulhosa do meu Natal DIY (FVM em português, mas gosto mais da versão inglesa). Só comprei a árvore de Natal e o papel de embrulho para fazer os enfeites, o resto aproveitei o que já tinha por casa e as decorações que vieram com a árvore de Natal (na qual, por acaso, tivemos 50% de desconto).

I am very proud of my DIY Christmas. I only bought the Christmas tree and de wrapping paper to make the decorations, for the rest I used stuff I already had and the decorations that came with the tree (on which, by the way, we had a 50% discount).

A maioria das coisas foram feitas numa noite de frustração por não ter a casa suficientemente decorada, pelo que não tirei fotos do processo, mas penso que seja fácil entender como foram feitas.
Most of the things were made on one night I was feeling very frustrated about the house not being decorated enough, so I didn't took any pictures of the process, but I think it's easy to understand  how I made each thing.


A coroa de natal dá as boas-vindas a quem entra ( papel pardo, que veio nas caixas do Ikea; fio verde; laços que vieram com a árvore de Natal )

The Christmas wreath welcomes us at the entrance door ( paper that came with the furniture boxes from Ikea; green thread; bows, which came with the Christmas tree)


 Na janela, cai a neve ( a grinalda veio com a árvore de natal; algodão em rama para os flocos redondos; papel cavalinho branco para os flocos mais elaborados - tirei a ideia daqui e daqui, mas fiz à minha maneira)
It "snows" by the window (the garland came with the Christmas tree; cotton to make the round snowflakes; thick white paper to make the elaborated snowflakes - I took the idea from here and here, but I did them my way). 


Na árvore não podiam faltar bolas vermelhas (vieram incluídas), mas o resto foi "caseirinho" (cartão e papel de embrulho para os enfeites 3-D; restos de plástico para forrar gavetas para os flocos) - ainda não está totalmente completa, pois faltam as luzes e algo para pôr em cima.


Red balls are a must-be on my Christmas tree (they were included), but the rest was homemade (cardoboard and wrapping paper for the 3-D decorations; leftover plastic used to line drawers for the snowflakes) - it's not fully decorated yet, the lights and something to put on the top are still missing.


Ainda há mais cantinhos para mostrar, mas fica para depois :)

There are still some other little corners to show, but that's for another time :)

sexta-feira, 10 de dezembro de 2010

Punhos // Wristwarmers


A minha avó tem uma teoria : se nos queremos manter quentinhos, temos de ter as mãos e os antebraços quentes. Por outro lado, se queremos estar fresquinhos quando está muito calor, temos de arrefecer as mãos e os braços com água fria, mas não falemos disso agora... brrr... :)
A teoria da minha avó passou para a minha mãe, que passava os Invernos a tricotar punhos de lã nas mais variadas cores, para ela e para mim. Mas quando fiquei mais velha, o hábito perdeu-se (também não ajudou a "crise" da adolescência, em que não se quer usar nada que seja diferente, com medo de se ser gozado) e os punhos também. De há uns anos para cá, comecei a dizer que tinha de tricotar uns, mas depois acabava por adiar e na Primavera já não fazia sentido estar de volta com as lãs :P No entanto, depois de fazer a cachecola, comecei a imaginar outros usos a dar ao resto da malha e resolvi costurar uns punhinhos!

My grandmother has this theory : if you want to keep warm, you have to have warm hands and forearms. On the other hand, if it's too hot and you want to cool down, wet your hands and forearms with cold water, but let's not talk about that right now... brrr... :)
This theory passed on to my mother, who spent all Winter knitting wristwarmers, in all the colours of the rainbow, for me and her. But when I grew up, that habit was lost ( and also the teenage years, when you don't want to wear anything different, afraid of being mocked by peers, didn't help), and so were the wristwarmers. For a few years now I told myself that I had to knit some again, but I always postponed and then came Spring and it didn't make much sense to fiddle around with wool. :P However, after making the neckwarmer the other day, I decided to make myself some wristwarmers aswell.

Cortei uns quadrados com a altura que queria e a largura suficiente para me cobrir os pulsos. Para que não se desfizessem, dei uns pontos muito simples a toda a largura, bem rentinho às bordas de cima e de baixo (linha vermelha). Pode-se fazer bainha, mas como eu fiz tudo à mão e me deu a preguiça, fiz desta forma mais simples e até gostei do resultado, meio "desalinhado".

I cut some squares with the height I wanted and that were wide enough to fit around my wrist. I quickly top stitched the bottom and top part, so that the knit wouldn't unravel (red line). You can hem them, but as I did it all by hand and I was feeling lazy, I did it this simple way, and I really liked the "rough-edges" look in the end.


Depois, dobrei ao meio e cosi os lados um ao outro, de maneira a formar um tubo (linha verde). Virei os punhos, de forma à costura ficar para dentro e ficaram prontos :)

Then, I folded the square in half and sewed the sides to eachother, so that the whole thing was tube-shapped (green line). I turn them rightside out and they were ready to be worn :)


Apesar de não serem muito grossos, mantêm-me os braços e as mãos quentes e dão um toque diferente à roupa.

They may not be that thick, but they do keep my arms and hands warm and they give a special touch to an outfit.

quinta-feira, 9 de dezembro de 2010

"Cachecola" ou Agasalho ou Abafador para pescoço // Neckwarmer


Uma pequena explicação para o título : eu não sei como chamar a estas coisas em português. Traduzido de outras línguas seria "aquecedor de pescoço", mas acho que é um nome feio... Portanto tomei a liberdade (tal qual o Ambrósio) de re-baptizar este item : não é cachecol, não é gola = é uma (ou um, o género ainda é algo a decidir) cachecola! Não é muito melhor, mas ao menos não me faz vir à cabeça imagens de aquecedores a óleo. Mas aceitam-se sugestões :D

Sugestões :
Agasalho para pescoço - Luísa
Abafador para pescoço - Papgena

Ora bem, eu fiz esta cachecola a partir de um cachecol que já tinha alguns anos mas que tinha pouco uso. Não era feio, mas era assim sem sal - um normal cachecol, um pouco para o largo, às riscas. E além disso, os acabamentos não eram os melhores e não era grande fã das franjas roxas e, por isso, quando tive a fazer a troca do roupa de Verão para a de Inverno, este foi logo para o monte do reaproveitamento.

Well, I made this neckwarmer out of a scarf that I already had for a while but which I didn't wear much. It's not that it was ugly, but it was a tad too plain - a regular kind of wide stripped scarf. On top of that, the edges weren't that well finished and the purple fringes weren't my cup of tea, so, when I was switching my summer clothes for my winter clothes I put this right on the repurposing pile.


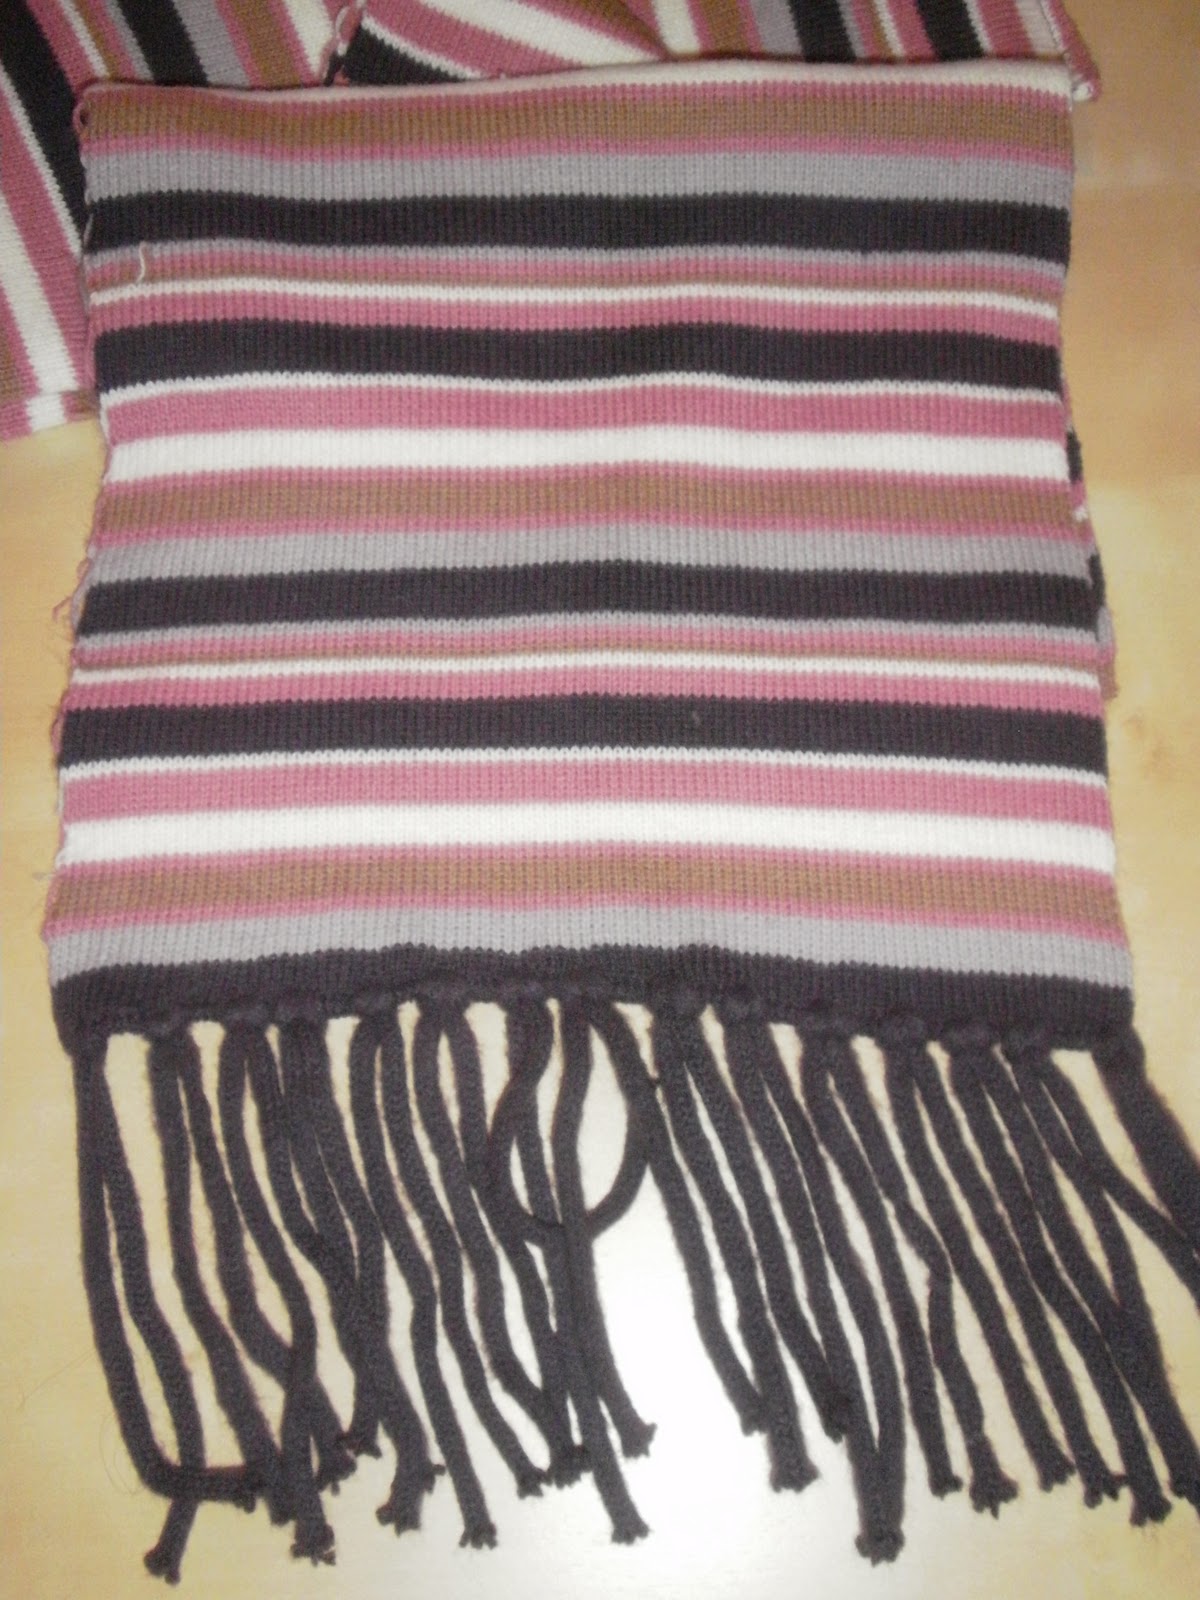
Cortei um bocado de cachecol que desse a volta ao meu pescoço e ficasse com o comprimento que eu queria. Dobrei esse bocado ao meio, pelo cumprimento, e cosi a quase toda a volta. Deixei apenas um espaço suficiente para virar todo o cachecol e depois fechei a abertura.


I cut a piece of the scarf, big enough to go around my neck and have the final length I was looking for. I folded that piece in half, lengthwise, and I sewed almost all around it. I only left a gap big enough to turn it rightside out and then closed that opening.


A partir daqui as coisas variam consoante o gosto de cada um. Pode-se deixar a cachecola como está e fechá-la com a ajuda de uma pregadeira. Eu preferi pôr um botão. Como não tinha nem queria comprar um botão que combinasse, usei um velho que aqui tinha e forrei-o com um bocado da malha. Depois, preguei-o à aba que ia ficar por baixo e, na aba de cima, fiz um casa muito rudimentar, para poder fechar a cachecola. Por sugestão do meu namorado (tenho de lhe dar o devido crédito), preguei outro botão igual na aba de cima de cima, abaixo dessa casa, mas para efeitos puramente decorativos.

From here on, the options are various, depending on our personal taste. You could leave the neckwarmer as is, closing it with a broche or so. I decided to put a button. As I didn't have a cute button, nor did I want to buy one, I used an old one I had laying around and covered it with a bit of the same knit-material. Then, I sewed it on the neckwarmer and made a rudimentar buttonhole on the overlapping flap, so I could  button the neckwarmer up. My boyfriend (I must give him credit) suggested I sewed another button on the upper flap, under the button case, to embelish the whole thing a bit more.
Fiquei com um acessório muito giro e prático. Concluí que, ao contrário dos cachecóis normais, estas cachecolas podem-se usar mesmo dentro de casa ou no trabalho, sem que estorve a nossa actividade e sem ter o ar de "roupa de rua" :)

Now I have a very cute and practical accesory. I reached to the conclusion that, unlike regular scarfs, neckwarmers can be worn even inside the house or at the office, withouth disturbing our activities or having that "outer wear look" :)

segunda-feira, 6 de dezembro de 2010

Coroa de Advento // Advent Crown

Para mim, o Natal começa no 1º Advento, ou seja, o 1º dos 4 Domingos anteriores ao Natal. Esse é o dia de começar a fazer as bolachas de Natal, fazer a árvore de Natal, de decorar a casa... Infelizmente, este ano não houve tempo para fazer isso tudo, mas uma das coisas que não pode falhar é a coroa de advento.
A Coroa de Advento é um candelabro circular, que pode ser simples ou decorada, onde se põem 4 velas : em cada Domingo de Advento acende-se uma, até que, no último, as 4 estão acesas.

Christmas, for me, starts on the 1st Advent, that is, the first of the 4 Sundays before Christmas. That's the day when the cookies are made, the tree and the rest of the house is decorated... Unfortunately, this year there wasn't enough time to do all that, but one of the things that is a must-be is the Advent Crown.
The Advent Crown is circular candle holder, simple or decorated, where you put 4 candles : on each Advent Sunday you light one until, on the last one, all 4 are lit up.


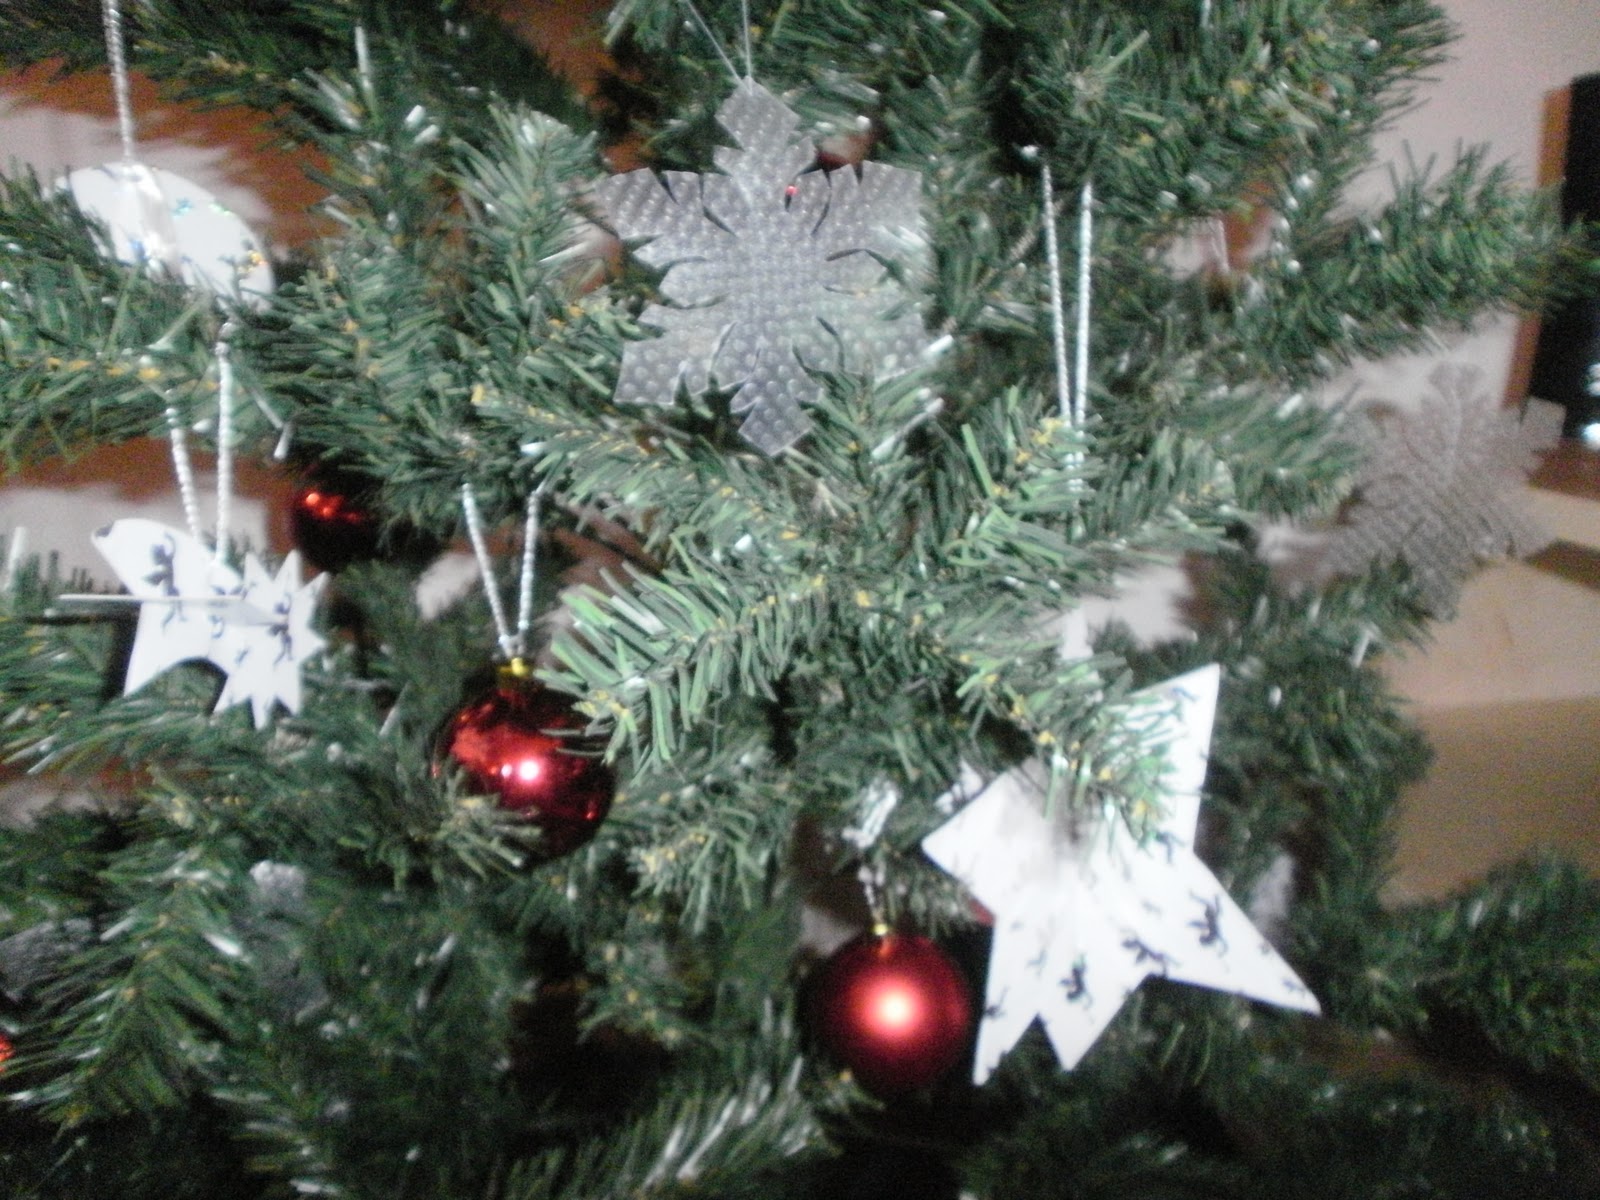
Este ano tivemos de comprar a árvore, portanto não quis gastar dinheiro em mais decorações. Peguei então num prato que não usamos, e forrei-o com papel de alumínio. Depois peguei num guardanapo vermelho, fiz-lhe uns recortes, e pus por cima. Em vez de uma coroa, fiquei com um prato de Advento :) Não é a mesma coisa, mas assim tenho uma forma bonita para fazer a contagem decrescente para o Natal!

This year we had to buy the tree, so I didn't want to spend any more money on decorations. I took a plate that we don't use and wrapped it in aluminium foil. Then, I took a red paper napkin, made a few cut outs and put it on the centre of the plate. Instead of a Advent crown, I ended up with an Advent plate :) It's not the same thing, but it's a nice way to make the cuntdown until Christmas!